
How to add Printer in Windows 10 | Windows 8.1 | Windows 7
Add printer, Adding a printer in windows operating system is super easy. Here in this article we are going to discuss how to add printer in windows 10. We will also discuss to add a printer in the older versions of windows.
There are two types of printer, which are:
- USB Printers
- Wireless Printers
USB Printers: These printers are generally used in offices. We need a usb cable to add printer to the computer. So this is also call local printer as there is no network needed to operate such printer. We just need to plug usb cable to connect the printer to the computer.
Wireless Printers: Wireless printers doesn’t require any usb cable to connect. they are either connected by a wifi network or by bluetooth. They can operated from phone,tablet and pc as well and the main benefit is that we can give command to wireless printer from anywhere in the office or in the home.
Now we are going to discuss how add a local printer in windows 10.
How to setup a local printer in windows 10
Step 1. Turn on the printer and Connect it to the computer via an USB Cable.
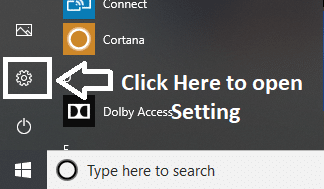
Step 2. Hit windows button and open the “Setting App” from the menu
Step 3. Now you will see devices section in the settings, click on the devices section
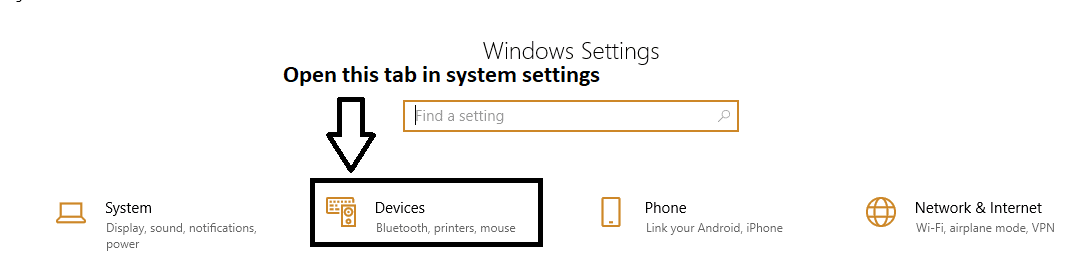
Step 4. Here you will see all the wired and wireless devices such as printer, Bluetooth, mouse,scanner etc.
Step 5. Select the “Printers & Scanners” Tab and click on “add a Printer or Scanner”
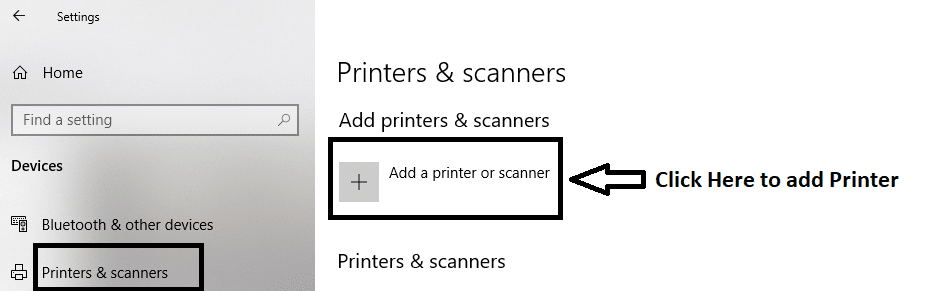
If you find your printer click on connect and if you can’t find click refresh button to load all the available devices.
How to add a wireless printer in Windows 10
The steps to add wireless printer may vary for different brands. Generally the latest printers detect your network and setup automatically.
As i told you there may be some difference in the settings of the different printer manufacturers. These are some common thing that every wireless printer must have and by following these you can easily setup your printer in windows 10 as well as in the previous versions of windows.
Step 1. Use printer LCD Panel and find the wireless network settings.
Step 2. Choose your Wi Fi network
Note: To connect to your home network you need to know your home networks SSID, which can be found by just hovering the mouse icon over the wifi network in the task bar of your computer.
Step 3. Enter your Password of wifi
Congrats! Your printer is successfully connected with your home wifi network.
If you are facing problem while connecting to the computer, follow these troubleshooting steps to resolve your issue.
Step 1. Unplug your printer and restart it.
Step 2. Check the USB cable for Local Printer and wireless connections for a wireless printer.
Step 3. If you find everything fine then try removing your printer and add it again.
Hope! By following these steps your connection issue will be solved. If not then call to customer support number so that the customer care executive can help you to set up your printer.